Integrate With a Remote Server
This is currently under development.
In this guide, we will show you how to configure Jan as a client and point it to any remote & local (self-hosted) API server.
OpenAI Platform Configuration
In this section, we will show you how to configure with OpenAI Platform, using the OpenAI GPT 3.5 Turbo 16k model as an example.
1. Create a Model JSON
Navigate to the ~/jan/models folder. Create a folder named gpt-3.5-turbo-16k and create a model.json file inside the folder including the following configurations:
- Ensure the filename must be
model.json. - Ensure the
idproperty matches the folder name you created. - Ensure the
formatproperty is set toapi. - Ensure the
engineproperty is set toopenai. - Ensure the
stateproperty is set toready.
{
  "sources": [
    {
      "filename": "openai",
      "url": "https://openai.com"
    }
  ],
  "id": "gpt-3.5-turbo-16k",
  "object": "model",
  "name": "OpenAI GPT 3.5 Turbo 16k",
  "version": "1.0",
  "description": "OpenAI GPT 3.5 Turbo 16k model is extremely good",
  "format": "api",
  "settings": {},
  "parameters": {},
  "metadata": {
    "author": "OpenAI",
    "tags": ["General", "Big Context Length"]
  },
  "engine": "openai"
}
- You can find the list of available models in the OpenAI Platform.
- Please note that the
idproperty need to match the model name in the list. For example, if you want to use the GPT-4 Turbo, you need to set theidproperty asgpt-4-1106-preview.
2. Configure OpenAI API Keys
You can find your API keys in the OpenAI Platform and set the OpenAI API keys in ~/jan/engines/openai.json file.
{
  "full_url": "https://api.openai.com/v1/chat/completions",
  "api_key": "sk-<your key here>"
}
3. Start the Model
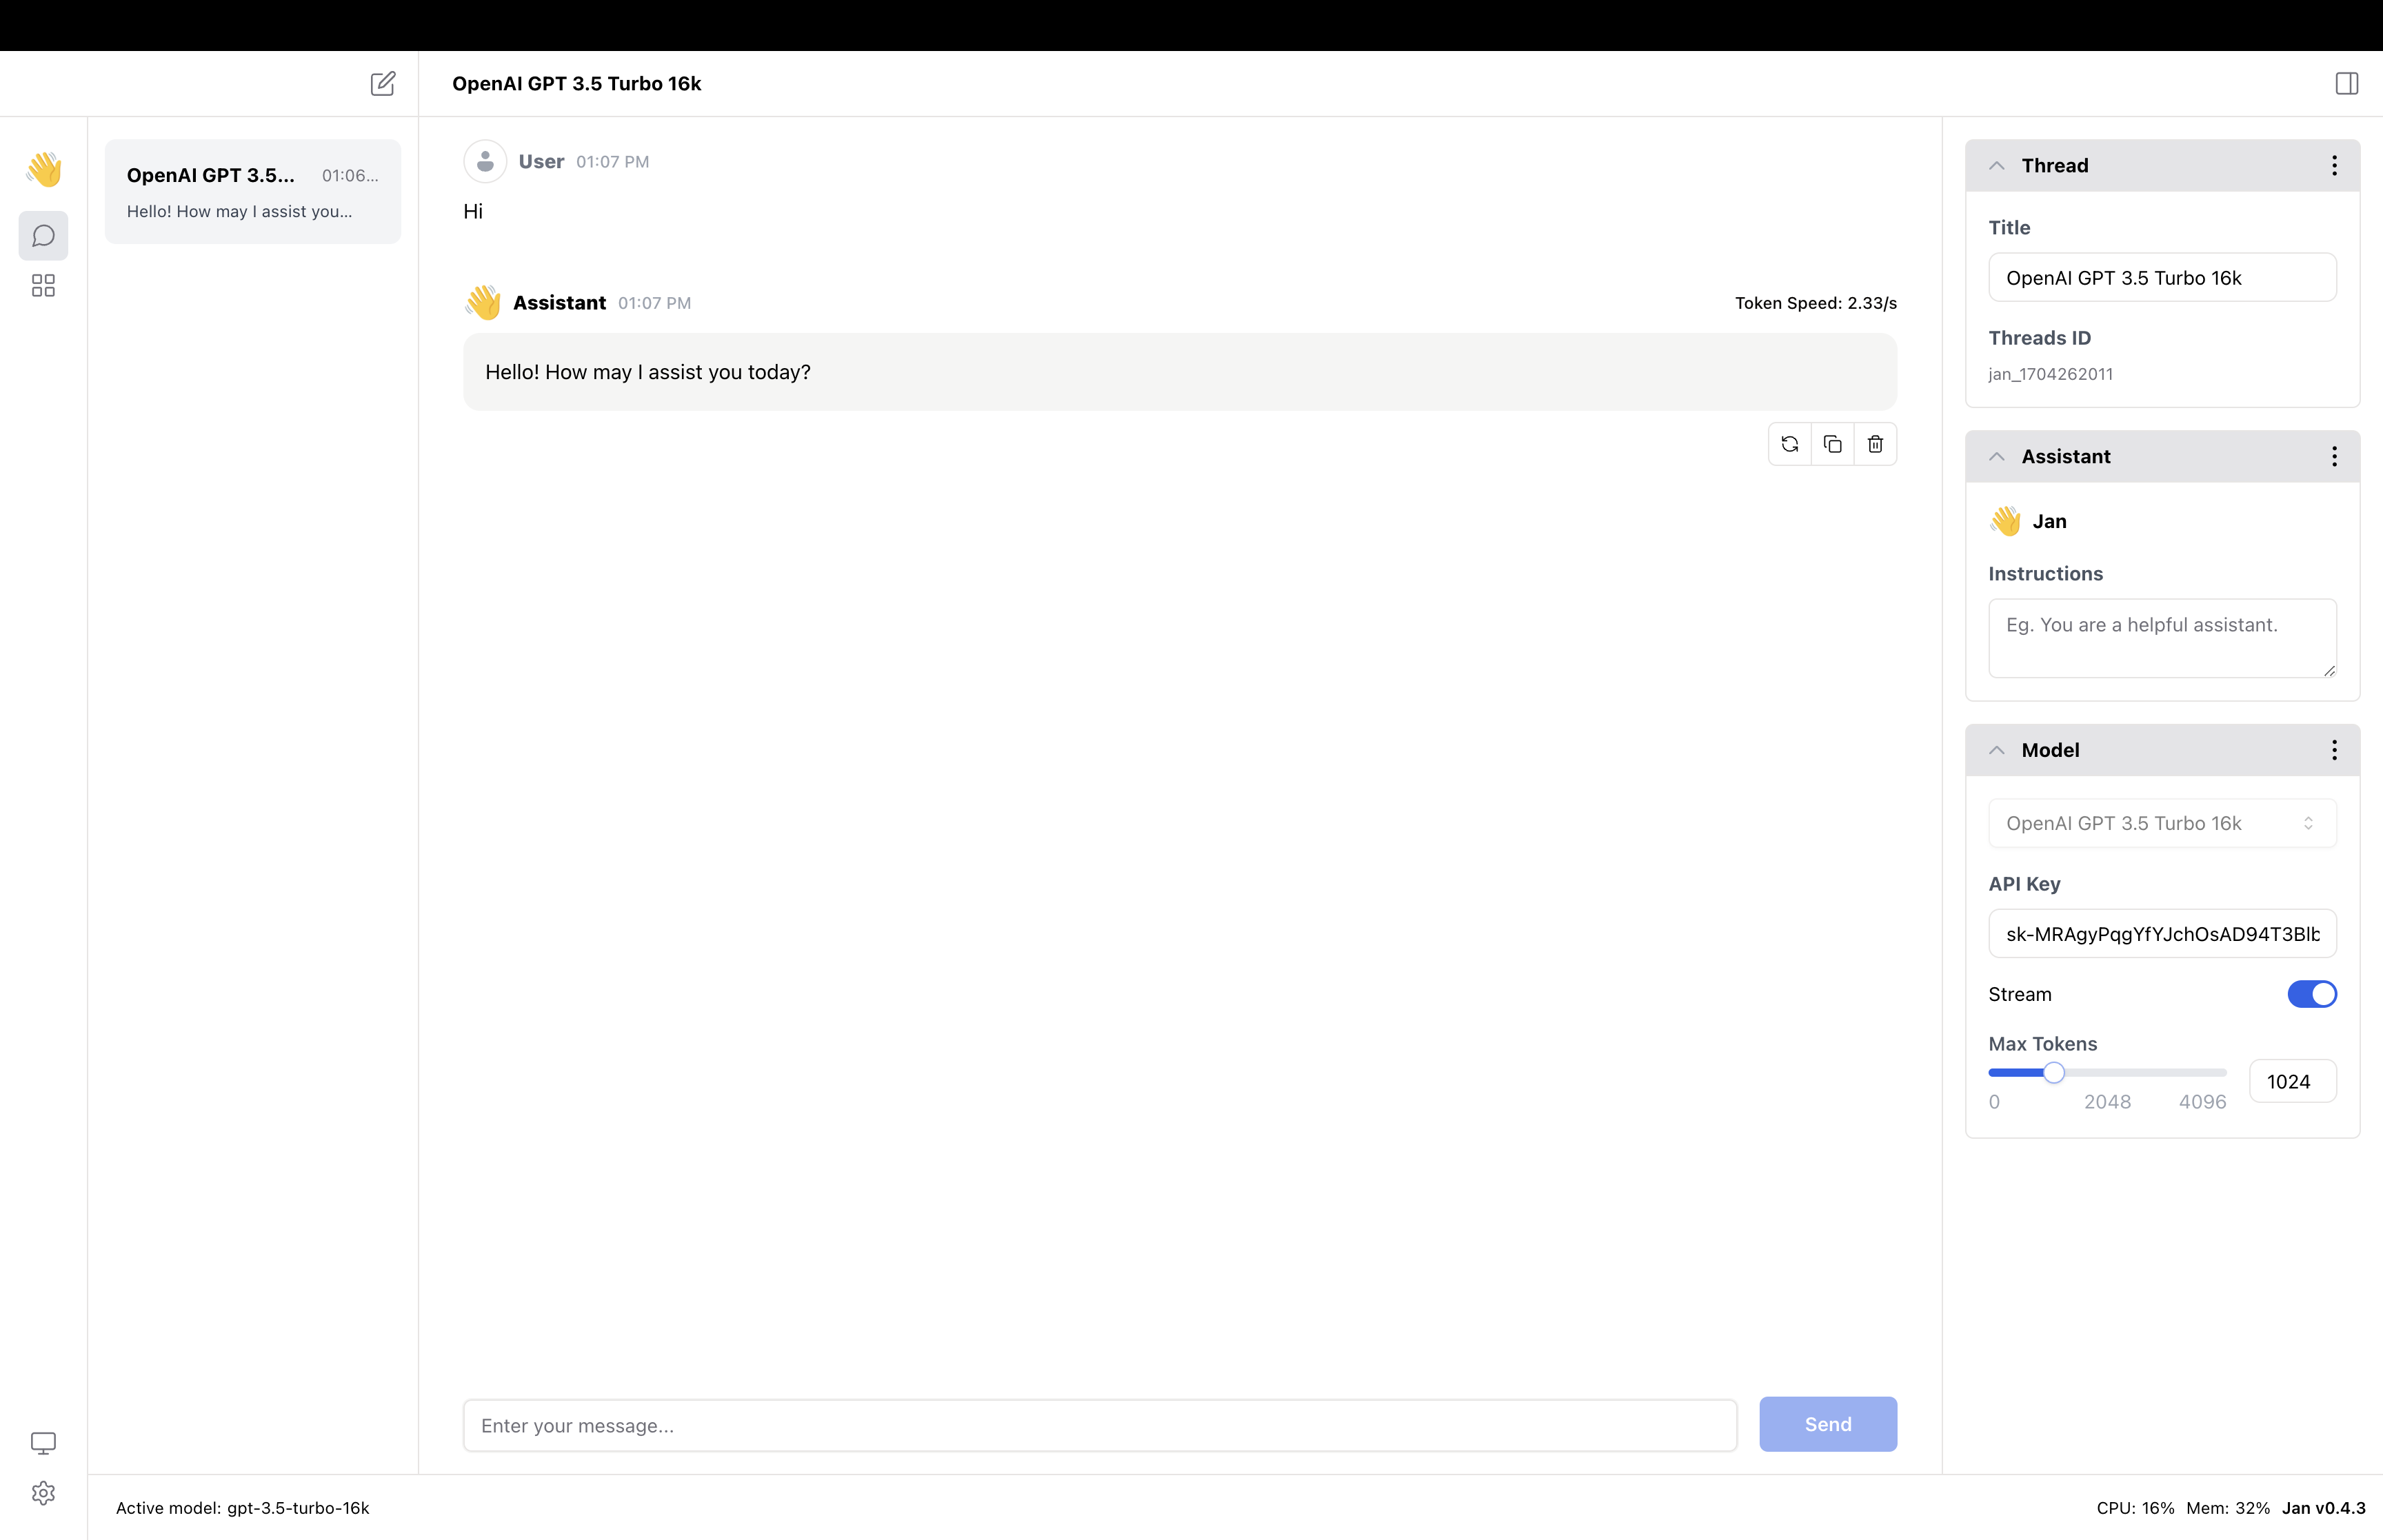
Restart Jan and navigate to the Hub. Then, select your configured model and start the model.
Engines with OAI Compatible Configuration
In this section, we will show you how to configure a client connection to a remote/local server, using Jan's API server that is running model mistral-ins-7b-q4 as an example.
- Please note that at the moment, you can only connect to one OpenAI compatible endpoint at a time.
1. Configure a Client Connection
Navigate to the ~/jan/engines folder and modify the openai.json file. Please note that at the moment the code that supports any openai compatible endpoint only reads engine/openai.json file, thus, it will not search any other files in this directory.
Configure full_url properties with the endpoint server that you want to connect. For example, if you want to connect to Jan's API server, you can configure it as follows:
{
  // "full_url": "https://<server-ip-address>:<port>/v1/chat/completions"
  "full_url": "https://<server-ip-address>:1337/v1/chat/completions"
  // Skip api_key if your local server does not require authentication
  // "api_key": "sk-<your key here>"
}
2. Create a Model JSON
Navigate to the ~/jan/models folder. Create a folder named mistral-ins-7b-q4 and create a model.json file inside the folder including the following configurations:
- Ensure the filename must be
model.json. - Ensure the
idproperty matches the folder name you created. - Ensure the
formatproperty is set toapi. - Ensure the
engineproperty is set toopenai. - Ensure the
stateproperty is set toready.
{
  "sources": [
    {
      "filename": "janai",
      "url": "https://jan.ai"
    }
  ],
  "id": "mistral-ins-7b-q4",
  "object": "model",
  "name": "Mistral Instruct 7B Q4 on Jan API Server",
  "version": "1.0",
  "description": "Jan integration with remote Jan API server",
  "format": "api",
  "settings": {},
  "parameters": {},
  "metadata": {
    "author": "MistralAI, The Bloke",
    "tags": ["remote", "awesome"]
  },
  "engine": "openai"
}
3. Start the Model
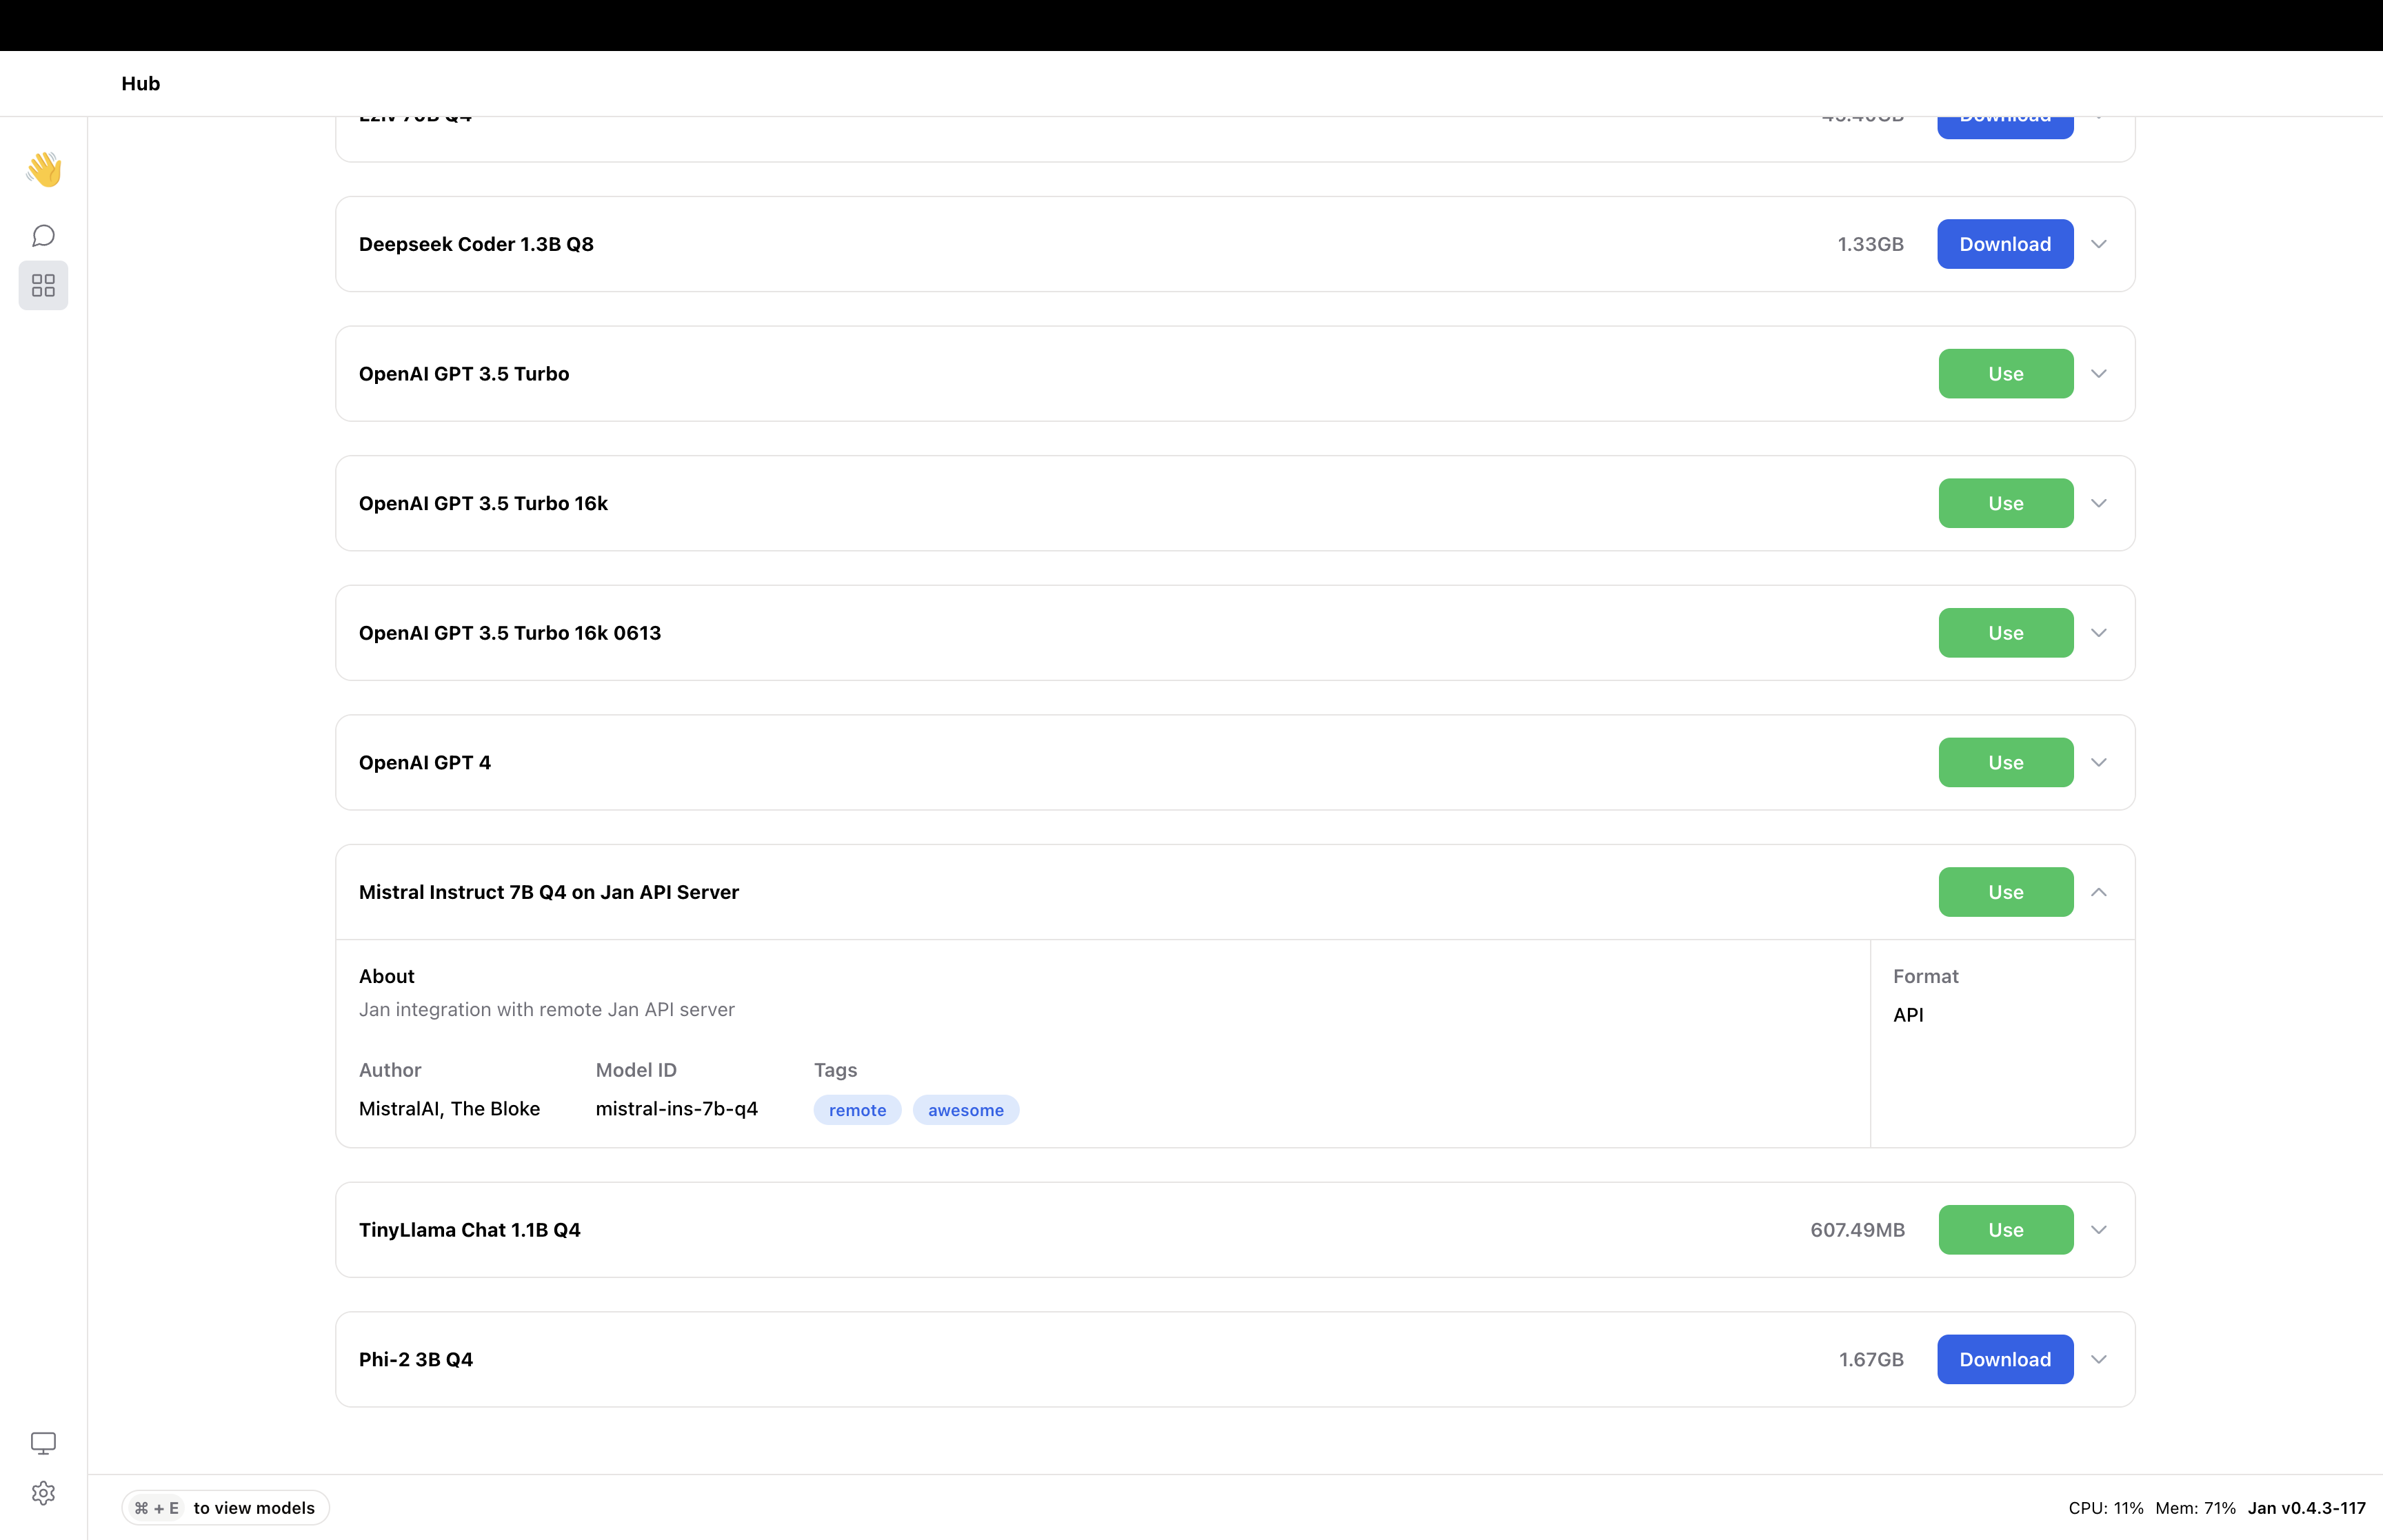
Restart Jan and navigate to the Hub. Locate your model and click the Use button.
Assistance and Support
If you have questions or are looking for more preconfigured GGUF models, please feel free to join our Discord community for support, updates, and discussions.